
Accessibility is not just compliance. It is speed, fewer mistakes, and more customers who can confidently order and pay. Here is a practical, POS-first playbook for making your menu, checkout, and receipts easier for everyone to use.
At 12:07 PM, your line is finally moving. A customer steps up, squints at the menu board, and says, "Sorry - can you read that out loud?" Your cashier repeats the options. The customer asks again, slower. Your cashier tries not to sound impatient. Meanwhile, two people behind them start scrolling their phones, looking for an exit.
That moment is not a "customer problem." It is a throughput problem.
Accessibility is usually discussed like a legal checkbox. In day-to-day operations, it is simpler than that: accessibility is the difference between a customer who can order and pay with confidence, and a customer who needs a helper. Helpers cost time. Time costs money. And because accessibility issues often show up at peak hours, the cost multiplies.
New accessibility features keep landing in the devices people bring into your store every day: better screen readers, larger text, smarter magnification, improved voice control, and even system-level subtitles for videos. That trend is a signal: customers will expect experiences that work with the accessibility tools they already rely on.
This post is an operator-focused playbook. Not theory. Not fluff. Just the most practical changes you can make across the surfaces where customers actually get stuck:
- menu boards and digital signage
- QR menus and online ordering pages
- self-service kiosks
- checkout screens and card-present prompts
- printed and digital receipts
Accessibility is speed (and fewer mistakes)
When people think about accessibility, they picture a small subset of customers. In reality, accessible design helps at least four big groups:
- Low vision / reading fatigue: small fonts on a menu board, glare on a kiosk, or tiny receipt text.
- Hearing differences: a loud dining room makes audio prompts useless, and video promotions without captions are invisible.
- Motor differences: small touch targets, tightly packed buttons, and timeouts that expire too fast.
- Situational limitations: holding a child, carrying bags, a cracked phone screen, or simply being tired at the end of the day.
Every one of these can lead to the same operational symptoms: slower orders, more voids, more re-rings, more refunds, and staff stepping in to "save" a transaction. That is why accessibility work belongs in your operations backlog, not only your legal folder.
The surfaces that matter (ranked by impact)
If you only fix one thing, fix the parts customers touch while deciding and paying. Here is the order we typically recommend:
- Menu readability: can someone understand the options quickly?
- Confirmation clarity: can they verify what they chose before paying?
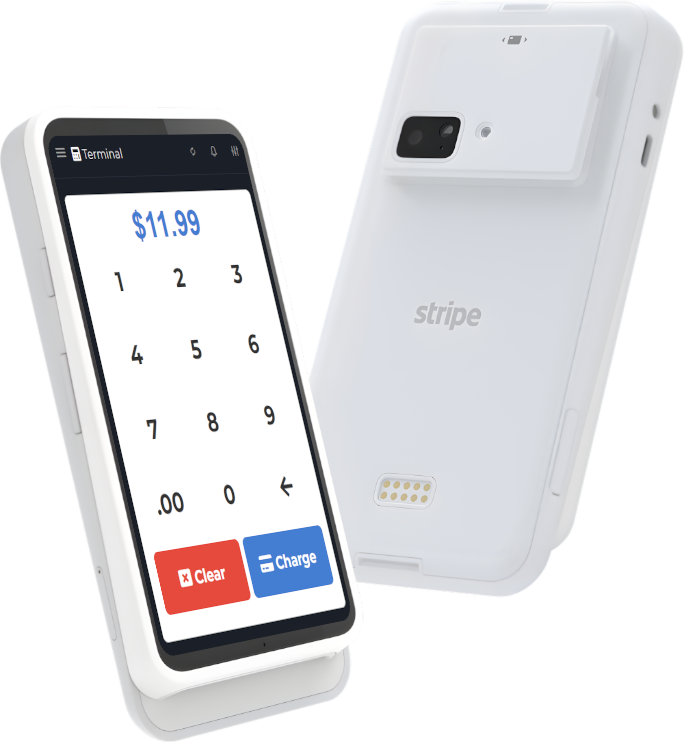
- Payment prompts: do they understand what the terminal is asking?
- Receipt legibility: can they prove what they bought, and how to resolve issues?
Notice what is not on that list: a "perfect" website. Your website matters, but your transaction flow matters more.
Menu and signage: the 7-minute upgrade
Most small businesses can dramatically improve menu accessibility without redesigning their brand.
1) Make your default text larger than you think
People underestimate how far the menu is from the customer, how often glare hits it, and how much time pressure there is in line. Increase the size of the most important text (category headings, item names, and prices). Reduce the size of less important text (flavor poetry, long descriptions).
2) Use high contrast, not "cute" contrast
Light gray on white looks modern until your dining room lights bounce off the board. If you want a simple rule: dark text on a light background, or light text on a dark background - with no mid-gray-on-gray.
3) Keep the structure consistent
Customers who rely on magnification and screen readers thrive on predictable patterns. If drinks are listed in one order on one screen and a different order on another, you are forcing re-learning.
4) Put the decision drivers first
In practice, most customers decide based on: size, protein, dietary constraints, and price. Put those at the front of the line. Example: "Chicken Bowl (GF option)" is easier to parse than "Bowl - A warm hug of flavor..."
QR menus: make them screen-reader friendly
QR menus can be great for accessibility - if the content behind the QR is structured well. If it is a flat image or a PDF that does not reflow, it can be worse than a printed menu.
Quick wins:
- Use real text, not menu images. If you must use images, add text alternatives.
- Use headings properly. Categories should be headings, items should be subheadings.
- Keep item names short and specific. People using assistive tech do not want to hear a 20-word item name repeated.
- Do not hide the price. Price ambiguity increases questions.
- Make "Add to order" buttons big. Avoid tiny links.
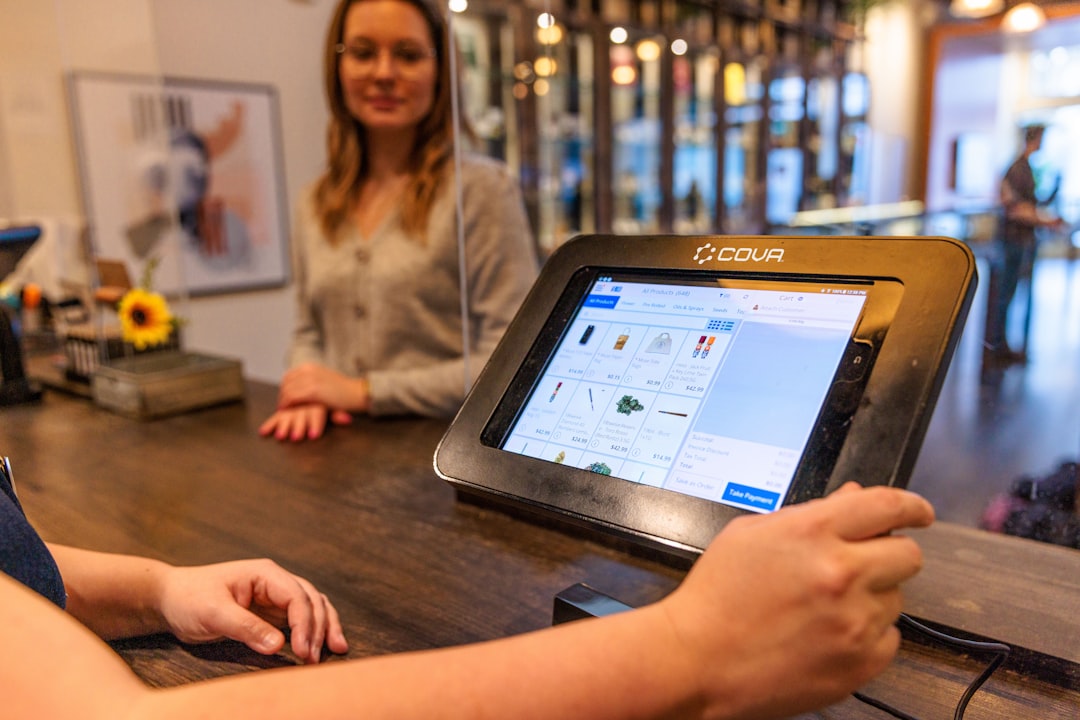
Kiosks and counter screens: design for fat fingers and time pressure
Kiosk UX has one job: reduce staff intervention. That means the kiosk has to work for people who are nervous, rushed, and not tech-confident.
We like to use three rules:
- Big buttons: if a button is smaller than a thumb, expect mis-taps.
- One decision per screen: do not stack five modifier choices at once.
- Always show a clear confirmation state: "You added X" with the full item name, and the price.
Also: avoid short timeouts. If the kiosk resets after 20 seconds of no interaction, you are punishing people who need a pause to read.
Receipts: your accessibility (and trust) fallback
Receipts are how customers resolve uncertainty later. If the receipt is hard to read, you will feel it as "why are people calling about obvious stuff?"
A receipt that works well includes:
- clear business name and location
- timestamp and order identifier
- item lines that match what customers see on the menu (no internal abbreviations)
- taxes and fees broken out clearly
- a short "Need help?" line with your preferred support path
Digital receipts have an extra advantage: customers can zoom and use screen readers. Just make sure you are sending the receipt content as readable text (not an image) and that customers have opted in appropriately.
How M&M POS helps you ship accessibility improvements faster
Most accessibility work gets stuck because the "menu" lives in one tool, the "checkout" lives in another, and the "receipt" is a third thing nobody wants to touch. A POS that is flexible about item naming, modifiers, and receipt formatting makes accessibility work much easier to sustain.
If you want a clean operational foundation, start with M&M POS. Build readable item names, consistent modifiers, and receipts that match what customers actually saw at ordering time. When you are ready to set it up for your business, download M&M POS and make accessibility part of your daily process (not a one-time redesign).
A simple weekly accessibility checklist
- Read your menu board from the doorway. If you cannot read it comfortably, neither can customers.
- Try ordering on your own QR menu with your phone brightness turned down.
- Watch a promo video with the sound off. If you cannot understand it, add captions.
- Ask a staff member to explain the checkout prompts. If they cannot, simplify the prompt sequence or train for it.
- Look at a receipt and ask: "Would a customer understand this tomorrow?" Fix abbreviations first.
Accessibility is not a vibe. It is an operating system for calm transactions. When your ordering and checkout flow works for everyone, your team feels the difference immediately: fewer questions, fewer corrections, faster lines, and happier customers.